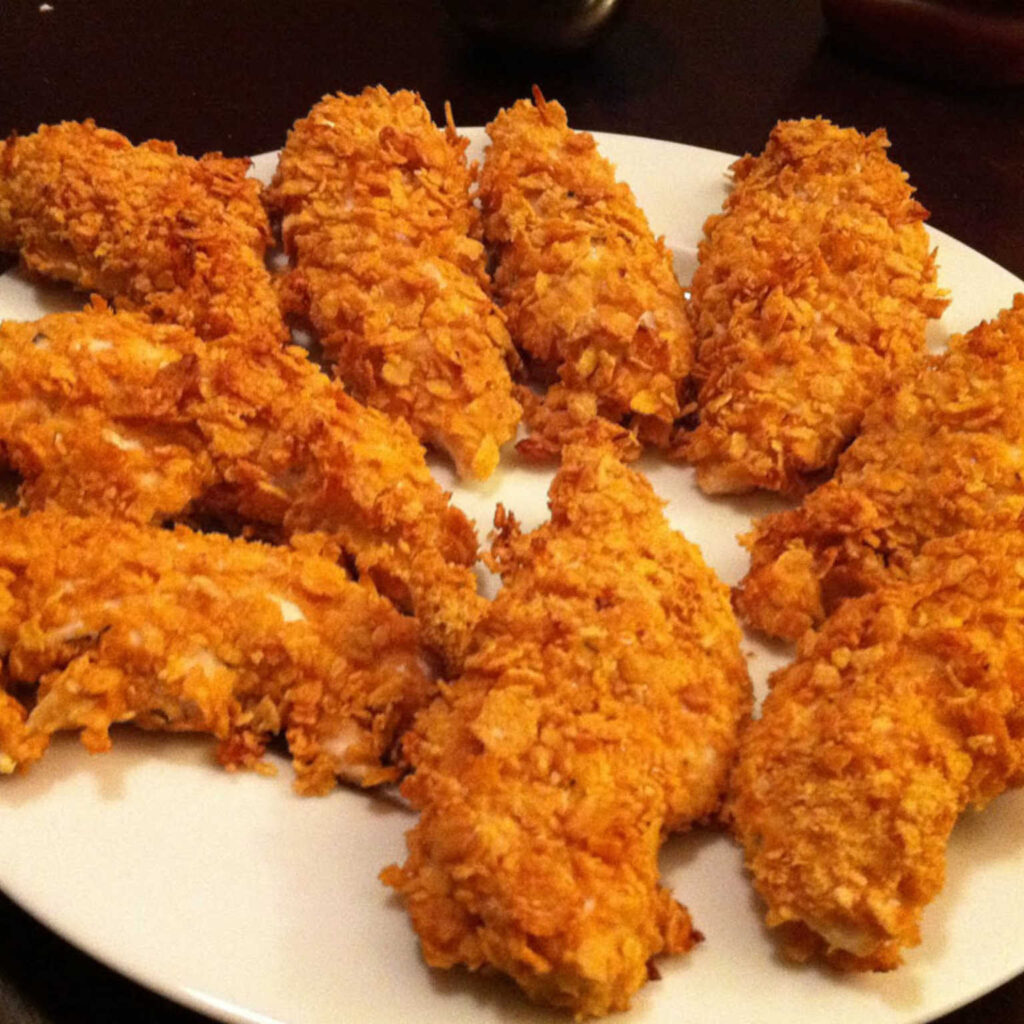
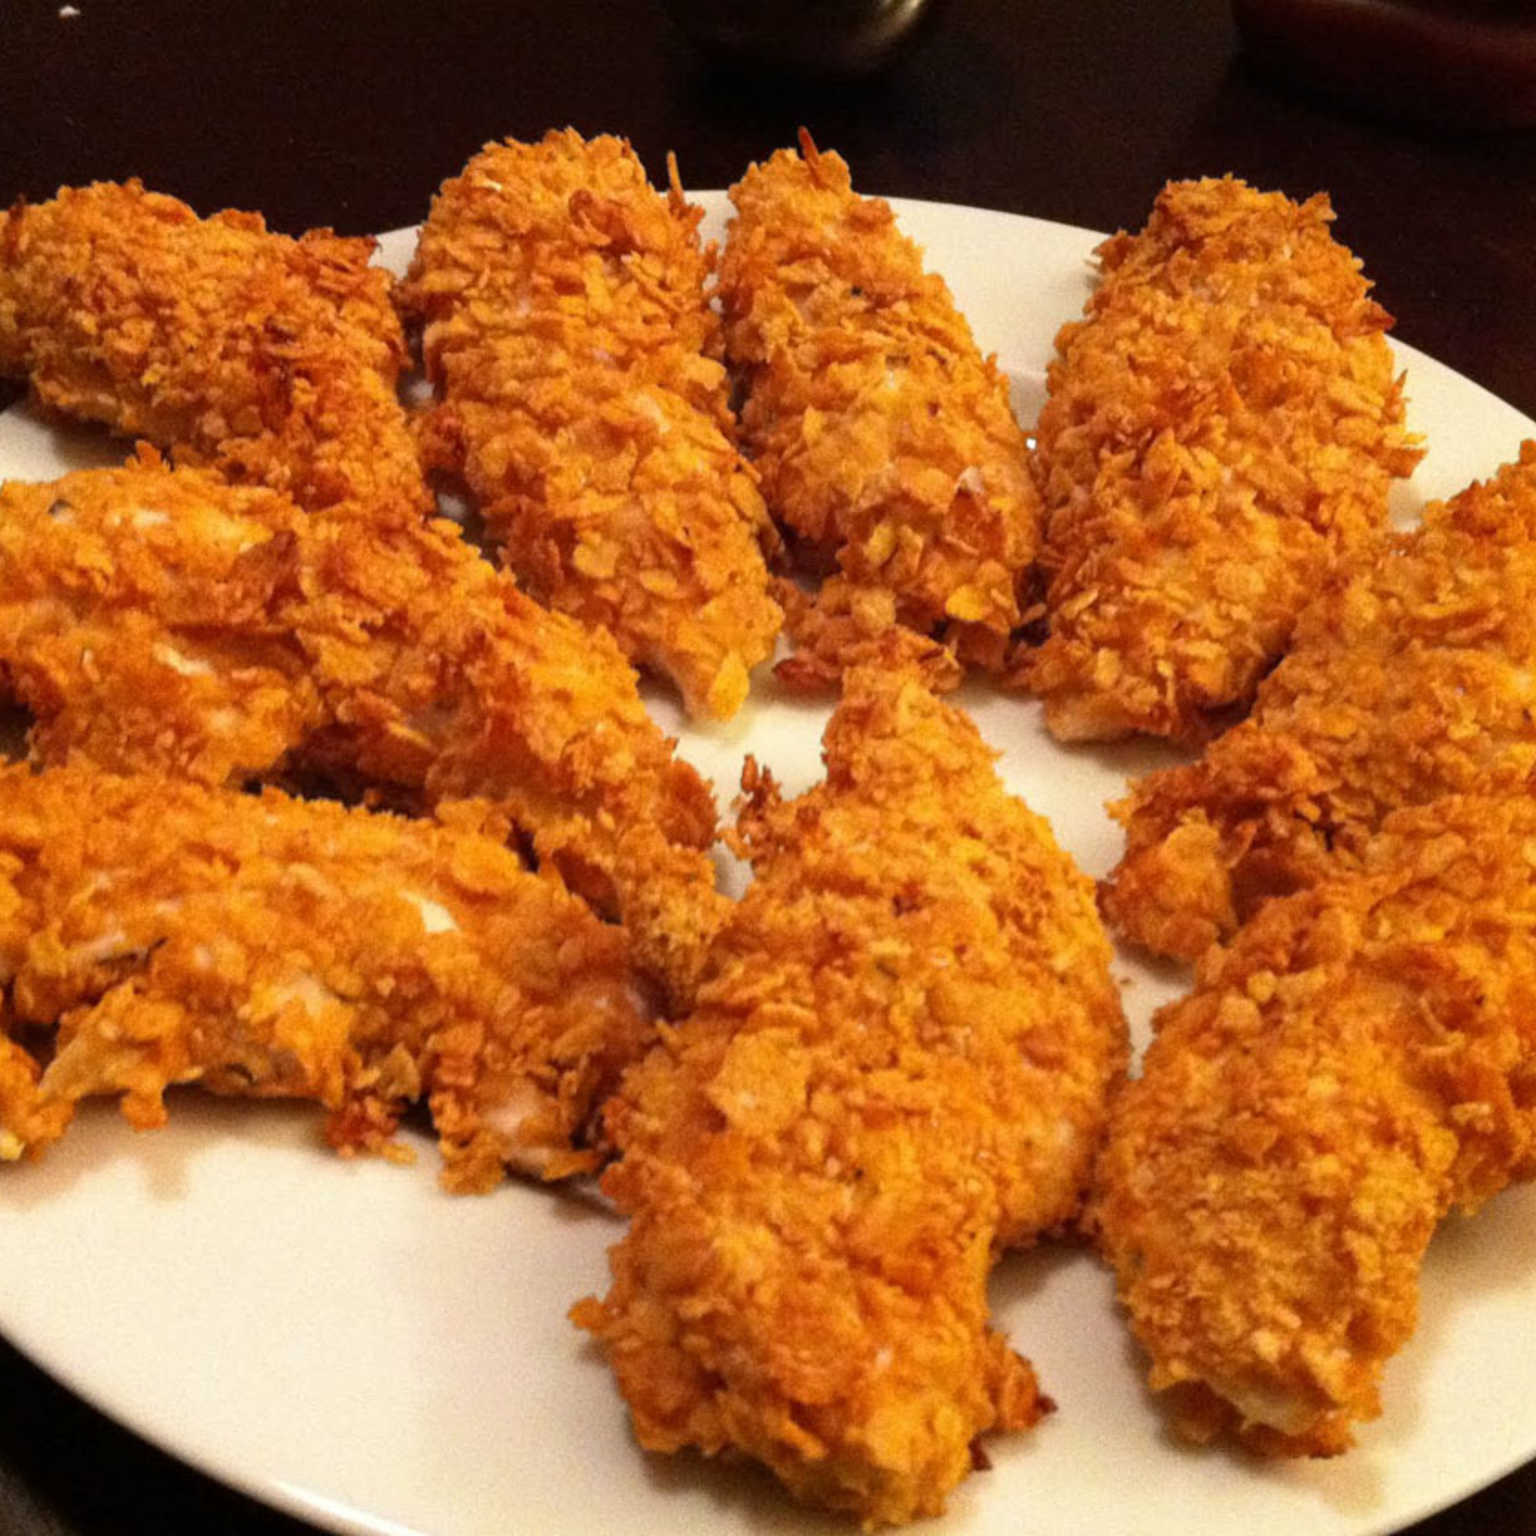
Broasted chicken is all about the perfect mix. You want a crispy, crunchy outside and the right taste. This recipe helps you get restaurant-quality results at home, even if you’re not a pro. I’ve come up with two different ways to cook it, so just pick the one that fits your time & equipment.
I have been making this broasted chicken recipe for ages, and it’s my go-to when I need a serious comfort food fix. The coating has the most amazing savory taste and the right amount of heat, and the meat is so tender it falls apart. Do you know that great feeling when you bite into fried chicken and hear that perfect crunch? Yeah, that’s what we’re shooting for here.
Why This Broasted Chicken Recipe Works
Two foolproof cooking methods – pressure cooker or traditional pot, you choose what works for you.
That signature crunchy coating stays crispy even after sitting out (if it lasts that long!). The double-dredge technique is the secret.
Perfectly juicy inside – the chicken stays moist and tender while the outside gets ultra-crispy.
Better than takeout – this homemade broasted chicken recipe tastes just like your favorite fried chicken joint, maybe even better.
Tools You’ll Need For This Chicken Broast
Before we jump in, let me tell you what you need. Most of this stuff is probably already in your kitchen.
- A pressure cooker (stovetop kind) – this is for the first method. Don’t worry if you don’t have one; I’ve got you covered with method two.
- A heavy-bottomed pot or Dutch oven – for the traditional frying method.
- Thermometer – not strictly necessary but helps if you’re nervous about oil temperature.
- Large mixing bowls – you’ll need a few for the flour mixture, egg wash, and chicken.
- Tongs – for safely handling the chicken in hot oil.
- Wire rack – lets the coated chicken dry and rest before frying. Trust me on this one.
- Paper towels – for draining the excess oil.
Ingredients For Broasted Chicken
The ingredient list looks long, but it’s mostly pantry spices.
For the Chicken:
- 1 whole chicken, cut into 12 pieces (skin and bones ON – this is crucial for flavor!)
- Salt to taste
- Black pepper to taste
- 1 tbsp lemon juice or vinegar
For the Flour Coating:
- 2 cups all-purpose flour/maida
- ¾ cup cornflour
- 2 tbsp garlic powder
- 1 tbsp dried parsley
- 2 tbsp dried oregano
- 1 tbsp dried basil
- Salt to taste
- 2 tsp black pepper
- 1 tbsp chili powder
The Egg Wash:
- 2 large eggs
- ¼ cup water
- Salt to taste
Frying:
- Oil for deep frying (enough to fill your cooker or pot less than halfway)
Reader Tip: Don’t skip the cornflour! It’s what gives that extra-crispy texture. I tried making this once with just AP flour, and the coating was good but not nearly as crunchy.
How to Make Broasted Chicken
Alright, let’s get cooking. The process has a few steps, but none of them are difficult. I’ll walk you through it.
Prep the Chicken
1. Take your cut-up chicken pieces and place them in a large bowl.
2. Season generously with salt and pepper.
3. Add the lemon juice or vinegar and mix everything well. Let this sit while you prepare the coating mixtures. The acid helps tenderize the meat and adds a subtle tang.
Make the Flour Coating
In a separate large bowl, combine all the dry coating ingredients:
- Flour, cornflour, garlic powder, parsley, oregano, basil, salt, pepper, and chili powder.
- Mix them really well. Make sure everything is evenly distributed – you want every piece of chicken to get a bit of all that herby goodness.
Make the Egg Wash
1. Crack the eggs into another bowl.
2. Add the water and a pinch of salt.
3. Whisk until smooth and well combined.
The Dredging Process (This Is Key)
Now for the fun part – getting that perfect coating.
1. Take a piece of chicken and coat it thoroughly in the flour mixture. Press the flour in so it sticks.
2. Shake off any excess, then dip it into the egg wash. Make sure it’s fully coated.
3. Let any excess drip off, then put it back into the flour mixture. Coat it AGAIN, pressing the flour in firmly.
4. Place the coated chicken on a wire rack or plate. Repeat with all pieces.
(The first time I made this broasted chicken recipe, I rushed this step. Ended up with patches of bare chicken showing through – not a pretty sight! Take your time and pack that coating on.)
Let the Chicken Rest
This step is important; don’t skip it! Let the coated chicken sit on the rack for 5-10 minutes. This allows the coating to set and dry out a little, which means it will stick better when frying. You’ll notice the coating looks slightly less wet and more like it’s “attached” to the chicken.
Method 1: Pressure Cooker Broasted Chicken
This is the method that gives you that signature broasted texture. I know some people get nervous about using a pressure cooker with oil, so I’ll be super clear.
Safety First: Do not fill your pressure cooker more than halfway with oil. And never use an electric pressure cooker (like Instant Pot) for this method – stovetop only!
1. Heat oil in your stovetop pressure cooker. You want it hot but not smoking.
2. Carefully drop the coated chicken pieces into the hot oil. Don’t overcrowd – fry in batches if needed.
3. Fry for about 30-45 seconds – just until the coating starts to set.
4. Put the lid on the pressure cooker and cook for 1-2 whistles. This takes about 5-7 minutes depending on your cooker.
5. Turn off the heat and let it sit for 5 minutes.
6. Now, carefully release the pressure. Use a spoon to gently lift the whistle – be careful, steam will escape!
7. Once all the pressure is released, open the cooker.
8. Turn the heat back on and continue frying until the outer layer gets super crispy and golden brown.
9. Drain on paper towels and serve hot.
Note from the kitchen: The pressure-cooking step is what makes this broasted chicken recipe different. It cooks the chicken through quickly while sealing in all those juices. Then the second fry gets that coating ultra-crispy.
Method 2: Traditional Pot Frying
Don’t have a pressure cooker? No problem. This method works great too.
1. Heat oil in a heavy-bottomed pot or Dutch oven. Again, fill less than halfway.
2. Once the oil is hot (around 350°F is ideal), gently add the coated chicken pieces.
3. Fry on high heat for about 2 minutes – this seals the coating and starts the browning process.
4. Reduce the heat to low and continue cooking for 10-12 minutes.
5. The chicken is done when it’s golden brown and cooked through (internal temperature should reach 165°F).
6. Drain on paper towels and serve.
The pot method takes a bit longer than the pressure cooker version, but you still get beautifully crispy, juicy chicken. I actually use this method when I’m making smaller batches and don’t want to drag out the pressure cooker.
What to Serve With Your Broasted Chicken
This chicken is amazing on its own, but if you want to make it a meal, here are some of my favorite sides:
- Garlic sauce – the classic dip for broasted chicken. Just mix mayo, yogurt, garlic, and a squeeze of lemon.
- French fries – because fried chicken and fries are a match made in heaven.
- Coleslaw – the creamy crunch balances the crispy chicken perfectly.
- Pickles – add that tangy contrast.
- Bread rolls – great for making little sandwiches.
Storage & Freezing
If you somehow have leftovers (lucky you!), here’s what to do.
Refrigerator: Store leftover broasted chicken in an airtight container in the fridge for up to 3-4 days. To reheat, pop it in the oven at 375°F for about 10-15 minutes until crispy again. Microwaving will make the coating soft – avoid it if you can!
Freezer: Yes, you can freeze this! Let the chicken cool completely, then wrap each piece individually in foil or plastic wrap. Place in a freezer bag and freeze for up to 2 months.
To reheat from frozen: Bake at 375°F for 20-25 minutes or until heated through. The coating won’t be quite as crispy as fresh, but it’s still delicious.

Easy Broasted Chicken Recipe in 30 Minutes
Ingredients
Method
- Place the chicken pieces in a large bowl. Season generously with salt and black pepper. Add the lemon juice or vinegar and toss well to coat evenly.
- In a large mixing bowl, combine:
- Flour
- Cornflour
- Garlic powder
- Parsley
- Oregano
- Basil
- Salt
- Black pepper
- Chili powder
- Mix thoroughly until evenly combined.
- Whisk together the eggs, water, and a pinch of salt until smooth.
- Coat each chicken piece in the flour mixture.
- Dip into the egg wash.
- Return it to the flour mixture for a second coating.
- Press the coating firmly onto the chicken.
- Arrange the coated chicken on a wire rack.
- Allow the coated chicken to rest for 5–10 minutes. This helps the coating stick and creates an extra crispy crust.
- Heat oil in a stovetop pressure cooker (fill less than halfway).
- Fry the chicken for 30–45 seconds.
- Close the lid and cook under pressure for 1–2 whistles (about 5–7 minutes).
- Release the pressure carefully.
- Fry again until golden brown and crispy.
- Drain on paper towels before serving.
- Heat oil to 350°F (175°C).
- Fry chicken over high heat for 2 minutes.
- Reduce heat to low.
- Continue frying for 10–12 minutes until golden brown.
- Chicken is done when it reaches 165°F (74°C) internally.
- Drain and serve immediately.
Notes
Recipe Notes
- Bone-in, skin-on chicken delivers the juiciest and crispiest results.
- Don’t skip the cornflour—it creates the signature crunchy coating.
- Let the coated chicken rest before frying to help the breading stay in place.
- Fry in batches to avoid lowering the oil temperature.
- For extra heat, add cayenne pepper or additional chili powder to the coating.
You can, but bone-in, skin-on chicken gives the best results. The bones help keep the meat juicy, and the skin gets incredibly crispy. If you use boneless, adjust the cooking time – it will cook faster.
Use a neutral oil with a high smoke point. Canola, vegetable, or peanut oil work great. Don’t use olive oil – it has a lower smoke point and can burn.
A few reasons: either you didn’t press the flour in firmly enough, you didn’t let the chicken rest after coating, or you’re moving the chicken too much in the oil. Let it sit undisturbed for the first minute of frying.
Absolutely! Add more chili powder to the flour mix, or add a pinch of cayenne pepper. Some people even add a dash of hot sauce to the egg wash.